


DIY Home Renovation Week 1: Getting the Keys & Starting Our Whole House Renovation
Updated: Sep 30
Hello, house!
After weeks of waiting, planning, budgeting, and imagining everything I wanted to change, I finally got the keys to our new house late in the evening on July 5th.
Closing day always feels approximately 700 hours long when you're waiting for the call that says the house is officially yours, so I'd intentionally set very low expectations for our first night.
My plan was simple:
Walk through the empty house.
Take all of my "before" pictures of our home renovation
Film some content.
Maybe start documenting a few of my REEL-y big renovation ideas. (Aren't I punny?)
Apparently nobody told Grayson or my brother about my relaxing first-night plan.
They were both off work that week and ready to renovate.
They already had a trailer loaded with tools and supplies, and the second we got the keys...
Our whole house renovation officially began.
Goodbye Carpet...Immediately
I hadn't even properly walked into my new house before rolls of carpet started coming out of it.
I kid you not.
I unlocked the front door for everyone, walked around to the backyard to make sure everything looked okay, and by the time I came back around...
Half of the basement carpet was gone.
So much for the before photos. At least they were motivated!
We spent the rest of our first evening clumsily dismantling and removing the old basement fireplace.

Between the carpet and fireplace disappearing within hours of getting the keys, the basement already looked completely different.
I remember thinking: Wow. We're going to fly through this renovation. I'd be moved in within a few weeks.
What an adorable thought. But honestly, compared to our first renovation and the one we're doing currently, our semi reno was by far the fastest, the least expensive, and the least extensive since the house was only 30 years old.
130 Boxes of Flooring Later...
Tuesday wasn't nearly as visually exciting.

We borrowed a trailer from a very generous neighbour and headed out to pick up all of the flooring for the house.
Naive, optimistic Brittany genuinely believed we'd probably start installing it within a day or two.
Since most of our renovation work happened in the evenings after stores closed, I wanted everything sitting at the house ready to go.
That meant picking up approximately 2.5 skids—or around 130 boxes—of flooring.
It took two trucks and a trailer to get everything home.
Then someone had to unload it.
If you've ever carried boxes of flooring, you know they're deceptively heavy.
Add a staircase and 100+ boxes?
Suddenly that basement feels very far away.
Thankfully there were three people carrying everything instead of one poor soul getting stuck with the entire job.
Our First DIY Renovation Lesson in This House
We also learned our first renovation lesson that day.
And we learned it quickly.
Renovation tip: make sure your trailer is weighted down or still attached to a truck before you start pulling flooring off or it will tip the trailer and dump the flooring out on you.
I was inside cleaning the fridge when I heard a gigantic THUD followed by some very concerned voices outside.
Not exactly what you want to hear during week one of a renovation.
When I went outside, everyone was opening boxes and inspecting the flooring because the trailer had shifted as it was unloaded.
Thankfully, nothing was damaged.
Lesson learned, and thankfully with no financial repercussions.
Tackling Years of Smoke Damage
Once the initial demolition excitement wore off, we got to the less glamorous part of renovating: Cleaning.
This house had been heavily smoked in, and the residue was everywhere.
Walls.
Doors.
Appliances.
Ceilings.
Basically anything that could hold onto smoke had.
We started washing the walls with TSP to cut through some of the residue and hopefully start reducing the smoke smell.
And because I wasn't interested in hand-scrubbing every square inch of an entire house, I improvised. I used a Vileda floor mop as a wall mop.
Was that technically its intended purpose?
Probably not.
Did it save my arms?
Absolutely.
Cleaning a smoke-damaged house was one of those renovation experiences where ignorance might actually have been bliss.
You'd rinse a cloth once and the water would immediately look like mud.
There were moments when I genuinely wished I'd hired professional cleaners simply because I didn't want to know exactly how dirty the house I'd just spent an astronomical amount of money on actually was but alas, it's a DIY renovation so we're doing as much as we can ourself.
The World's Brownest White Fridge
Case in point on the smoke damage front: The refrigerator.

I unfortunately forgot to take a true "before" photo, which is a shame because you really needed to see it to appreciate this transformation.
It was supposed to be white. "White" was being generous.
Magic Erasers became one of my favourite discoveries during this stage of the renovation because somehow they took what may have been the world's brownest refrigerator and turned it back into a dazzling white appliance.
Was cleaning a refrigerator really the highest priority when we were renovating an entire house?
For me? Yes.
I'm a snacker.
Having somewhere clean to store cold drinks and food while spending hours renovating was incredibly important to me, and probably kept my helpers around longer which speeds up the renovation process.
The fridge was one of the first things I tackled... After the bathrooms. Obviously.
Removing ALL the Wallpaper
The other big project that week was wallpaper removal. There was a lot of wallpaper.
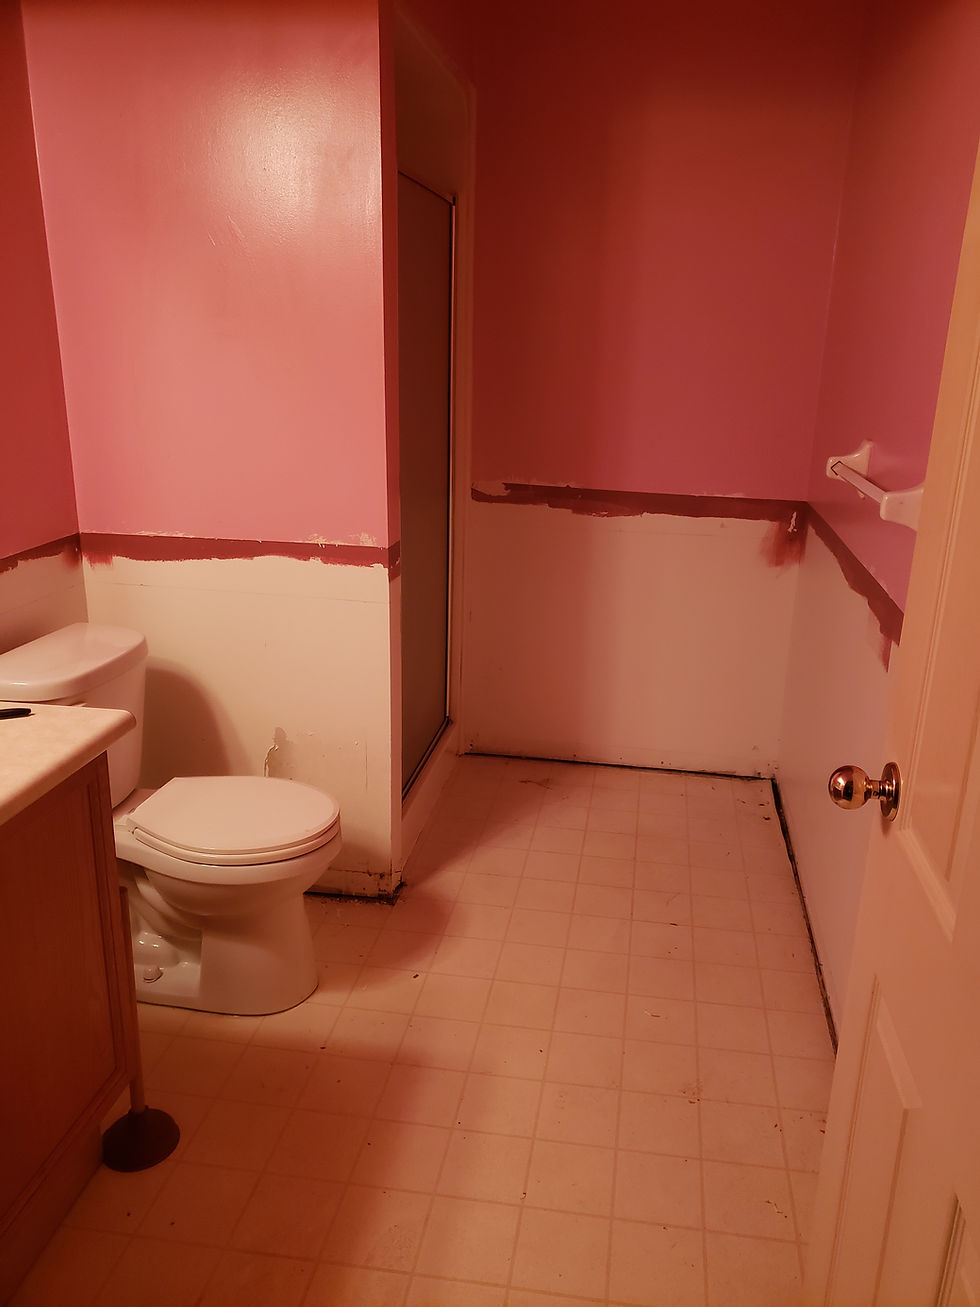
And apparently every room wanted to make the removal experience completely different.
Some sections peeled off so easily they might as well have been peel-and-stick. See what I mean in this video 👉🏻
Some practically wiped away.
And then there were the stubborn sections.
Those required soaking the wallpaper with a mixture of water and fabric softener before scraping it off with a putty knife.
It sounds like an odd combination, but it worked surprisingly well. Thank goodness.
Otherwise the entire house would have ended up looking like Edward Scissorhands lived there after I attacked every wall with a putty knife.
My bathroom may have briefly looked that way. We don't need to talk about it.
Preparing the House for What Came Next
By the end of the week, we'd:
Removed most of the old carpet
Removed the basement fireplace
Hauled approximately 130 boxes of flooring into the house
Started preparing the basement for new flooring
Removed wallpaper throughout the house
Washed smoke residue from the walls
Started deep-cleaning appliances
Cleaned the bathrooms
Begun tackling the lingering smoke smell
None of the rooms were anywhere close to finished. But the house already felt different. And more importantly, we'd officially started!
Looking Back at Week One of Our DIY Home Renovation
Looking back now, I laugh a little at how optimistic I was that first night.
We ripped out half a basement worth of carpet within minutes of getting the keys, removed a fireplace, and immediately started hauling materials into the house.
Of course I thought we'd be done in a few weeks.
What I hadn't learned yet was that demolition is often the fast part.
It's everything that comes afterward that takes approximately seventeen times longer than you think it will.
But there's something really special about those first few days of a renovation. Everything feels possible.

You're exhausted, filthy, slightly overwhelmed, and somehow still ridiculously excited because every ugly room you walk into is filled with potential.
Week one wasn't glamorous.
It smelled like smoke.
The cleaning water looked horrifying.
There were flooring boxes everywhere.
And I'm pretty sure we created more mess than we eliminated.
But the house was ours and we were officially turning it into our home. 💕
Missed all the before photos? Check out the blog post Semi Excited to see our starting point.
Follow Our DIY Home Renovation From the Beginning
Want to see how this renovation unfolded week by week? Catch up on the full story below—from getting the keys and tackling smoke damage to kitchen surprises, flooring, trim work, and finally seeing the house start to feel like home.
Missed all the before photos? Check out the blog post Semi Excited to see our starting point.
Whether you're planning your own DIY home renovation or just love a good before-and-after story, there's plenty more renovation chaos, lessons learned, budget decisions, and progress to come.
Want to skip ahead and see how all of these projects eventually turned out? Take a look at our complete home renovation before and after →, including the kitchen, bedrooms, bathrooms, basement, yard and more.
Frequently Asked Questions
Where should you start with a whole house renovation?
For us, the first week was mostly about demolition, cleaning, and preparation to remove the smoke damage from the house. The smell was so unpleasant no one really wanted to be in the house so our first priority was dong whatever we could to remove anything that was holding onto the smell. We removed old carpet and wallpaper, cleaned years of smoke residue, brought in flooring, and started getting rooms ready for the larger renovation projects that would follow.
How do you clean walls in a smoke damaged house?
We used TSP to clean residue from our walls and even repurposed a floor mop to make washing large wall areas easier. Smoke damage can require more extensive cleaning and sealing depending on the severity, so heavily affected homes may benefit from professional assessment and cleaning.
What's the easiest way to remove old wallpaper?
Different sections of our house required different methods. Some wallpaper peeled away easily, while stubborn areas were soaked before being carefully scraped away with a putty knife. Testing a small section first helped us figure out what worked for each room. Mixing water and fabric softener seemed to work the best for us.
Can you renovate a whole house yourself?
We took a DIY-heavy approach but didn't try to do absolutely everything ourselves. Knowing which projects we were comfortable tackling—and when to bring in professionals—became an important part of the renovation as it progressed. We ended up outsourcing anything structural (which was honestly just the inspection), electrical and plumbing.


Week 1 is always the most nerve-wracking part of the whole process. You never really know what you are going to find once the drywall actually comes down and the demo starts. During our own main floor tear-down last spring, we uncovered a slow leak behind the old kitchen sink that had completely rotted out the framing. It brought our whole timeline to a halt until we could get it sorted out. We ended up having to bring in a Plumbing company POM Plumbing https://pomplumbing.ca/ to completely replace the old pipes and upgrade the rough-ins before the general contractors could move forward. Getting the utilities secured properly early on saves a massive headache later. Good luck with week 2! Looking…